
Configuring the pr.war File
Open the pr.war file using a zip program such as 7-zip:
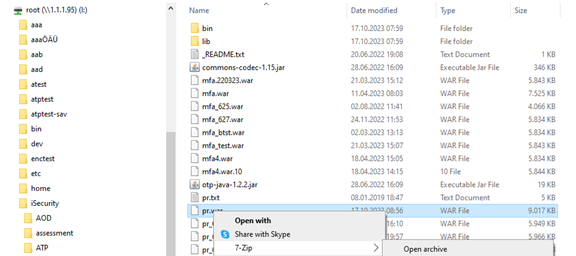
Click the right mouse button and choose 7-zip. The .war file opens in 7-zip.
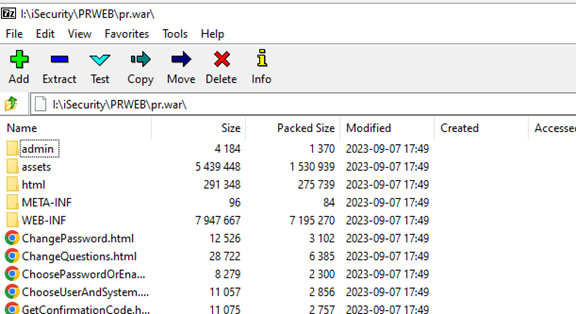
Double click on the WEB-INF directory
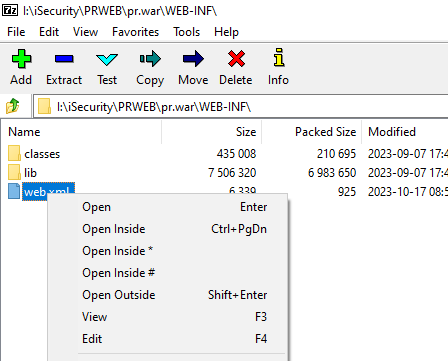
RIght click on web.xml and choose Edit .
In the pr.war file you find three occurrences of this starting with <init-param>:
<init-param>
<description>IBMi-Name/ip</description>
<param-name>host</param-name>
<param-value>localhost</param-value>
</init-param>
<init-param>
<description>IBMi-User</description>
<param-name>user</param-name>
<param-value>*CURRENT</param-value>
</init-param>
<init-param>
<description>IBMi-password</description>
<param-name>password</param-name>
<param-value>*CURRENT</param-value>
</init-param>
Now replace all instances of localhost with the IP address of your IBM i
Then replace all instances of *CURRENT in the line below user with the user profile that you want to use for authentication. We recommend that you copy the user profile SECURITY8 to SECURITY8W and assign this new profile a proper password.
Then replace all instances of *CURRENT in the line below password with the password of the user profile.
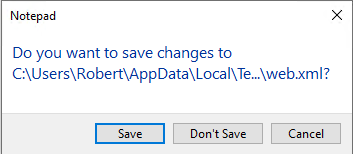
Now close the editor and save the changes by clicking on Save:
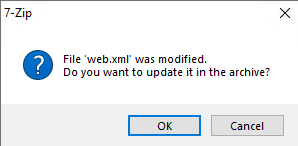
Also save the modified web.xml into the war file by clicking on OK:
Close the .war file